A couple of weeks back UPS knocked on my door with a nice box and heavy box containing Sedition Wars: Battle for Alabaster. So this is just a few pictures from when I opened the box and a few comments here and there.
First of all as before I still haven't gotten my camera back, so pics are of a less than stellar quality, so consider yourself warned.
Anyways, upon opening the box late at night when everyone else was sleeping, I found a game box and an additional box containing the Biohazard contents inside as well as the signed lithograph that appearantly all the CMON kickstarters are doing. All was very nicely packed with lots of foam padding, so that's really a plus.
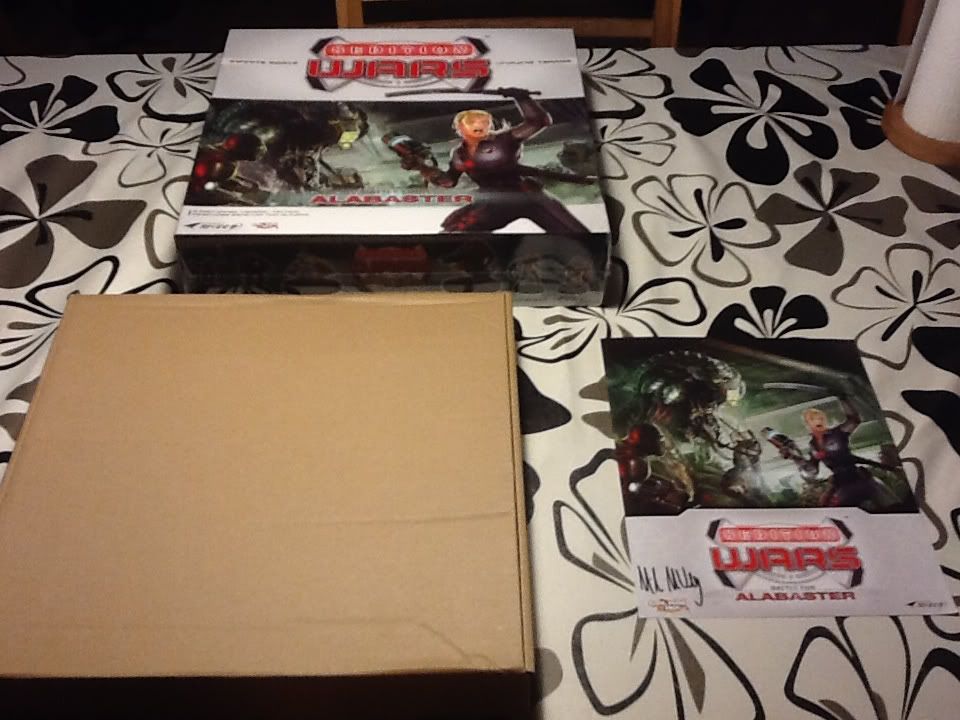 |
| Top: The game itself, bottom left: Biohazard pack, bottom right: Signed lithograph |
The biohazard pack contained a lot of additional minis all packed up (they still are btw), 2 sets of dice, stat cards for the additional minis and a little vanguard patch. The dice are quite nice with strain and vanguard logos put instead of the number 6 (green is strain dice, blue is vanguard).
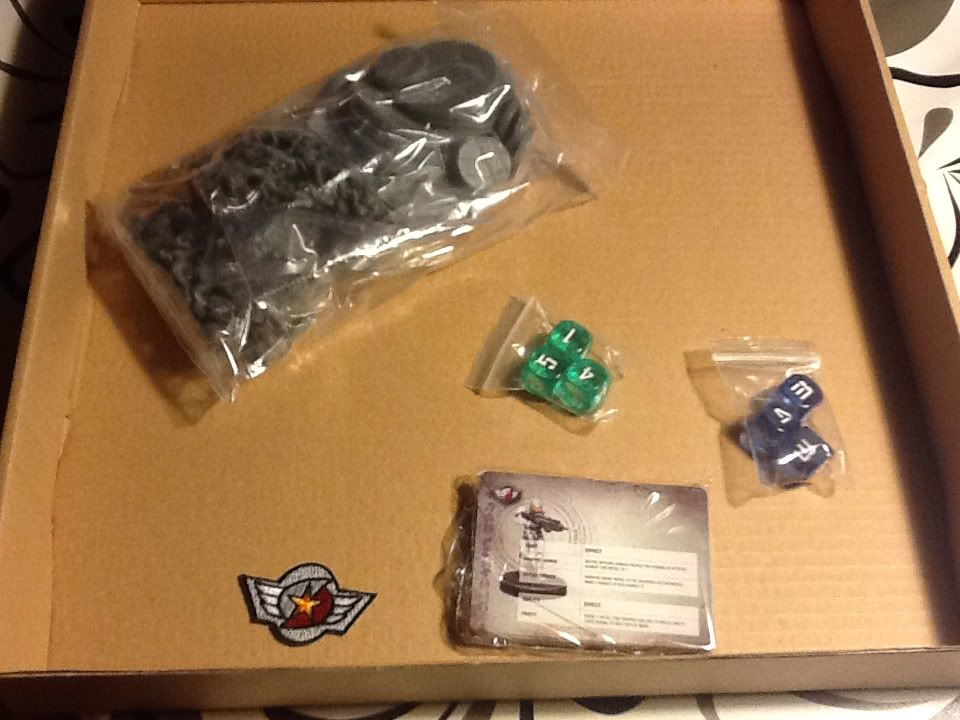 |
| Contents of the Biohazard pack: Miniatures, 2 sets of dice, stat cards and a Vanguard badge |
The box itself is quite heavy and seems quite sturdy, so I would imagine it should be able to withstand a bit of use. The front contains the picture that we've seen countless times in relation to the kickstarter and the back pictures of the components in the box (which came in quite handy during assembly).
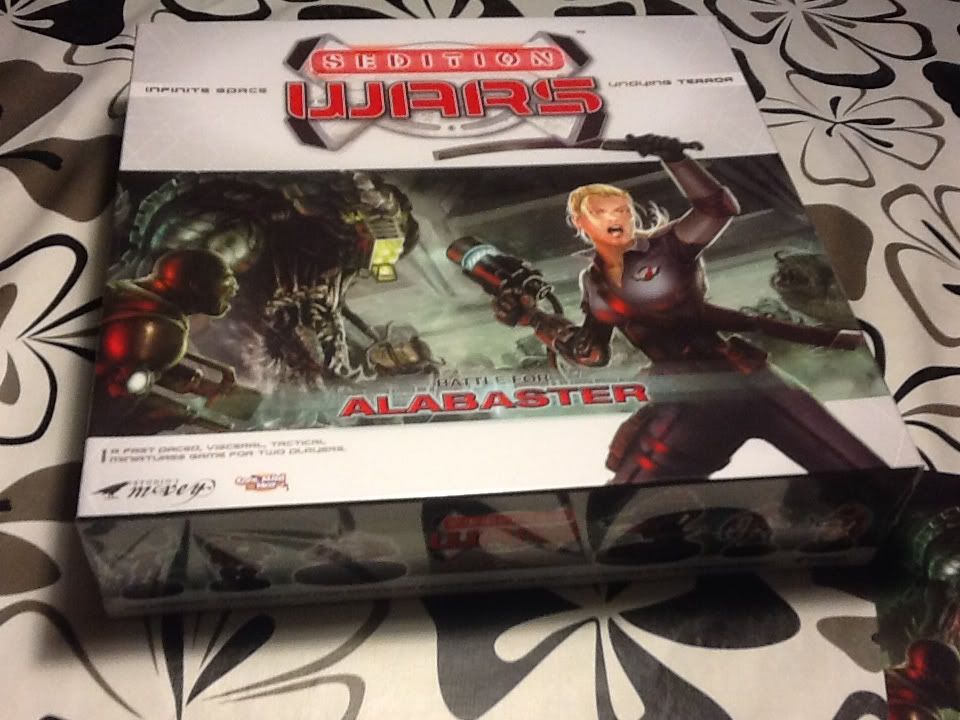 |
| The box itself |
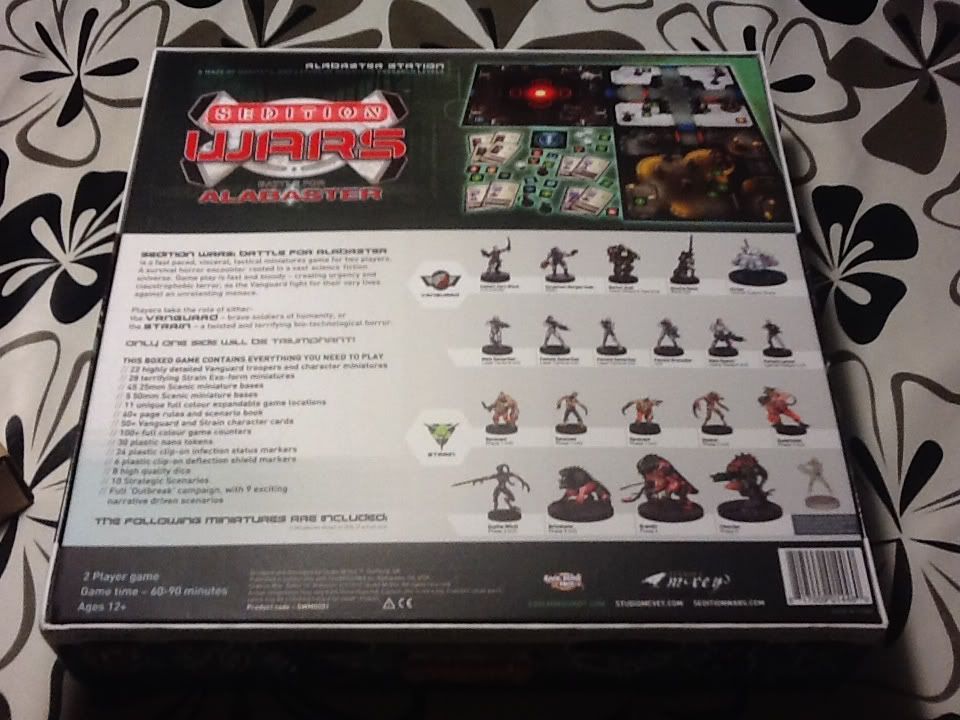 |
| The back of the box |
All laid out on the table these are the components, 5 bags of miniatures, dice, nanospore cloud conters, infections markers, 2 sheets of tokens and 5 double sided game boards and a load of stat cards.
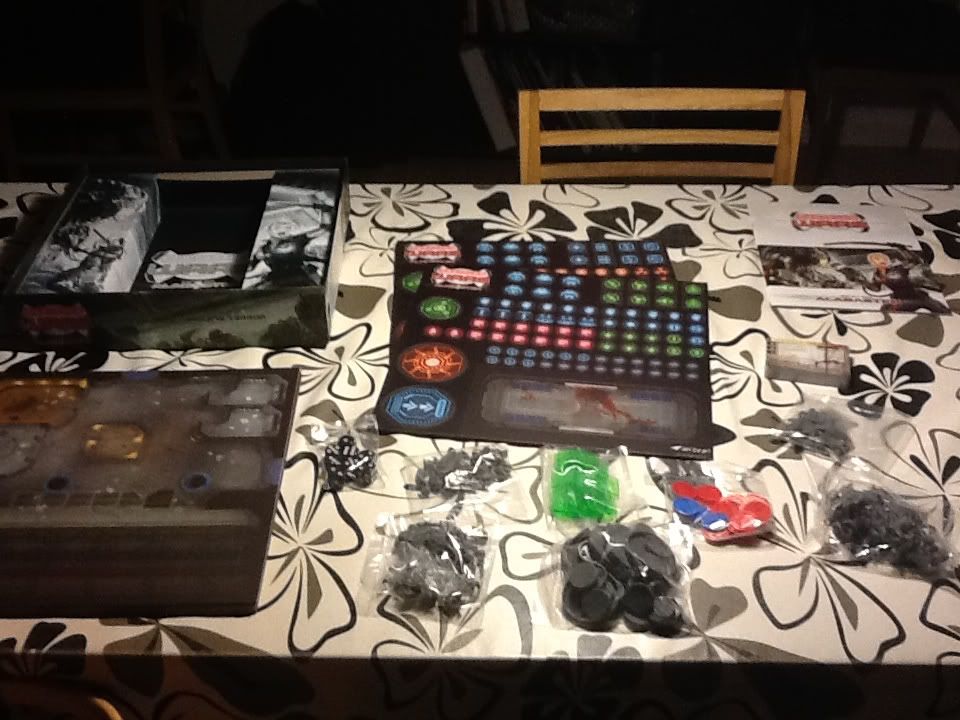 |
| All the contents laid out: 2 sheets of counters, 5 board tiles, 5 packs of minis, 1 pack of tokens for infection etc, 1 pack of nanospore markers and a rulebook |
Concerning the game boards there has been quite a few posts around the internet that the boards are delaminating and warping. Perhaps I was just lucky but I've observed none of this. The only thing I can really point my finger at, at this point, is that some of the tokens are printed a bit off-center, but nothing that isn't acceptable I'd say.
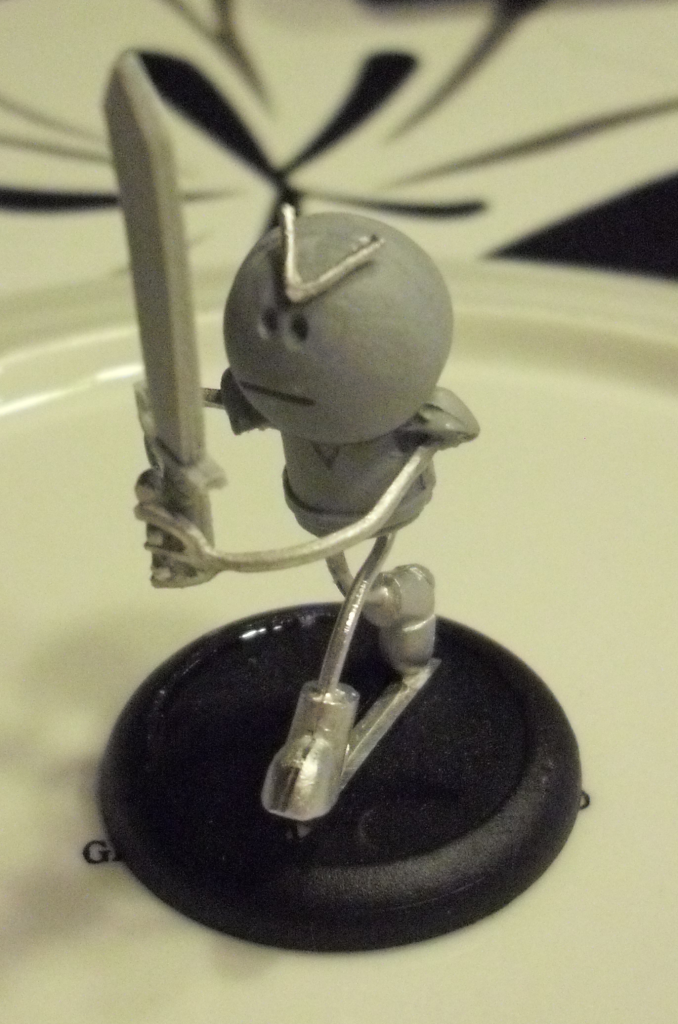
Although I have no pictures to show for it, I've started to assemble the minis. They are a decent quality I'd say and full of detail, so they really deserve to be painted at some point in the future (and considering my hobby time, paint speed, and the pile of lead/plastic I have lying around, then that's probably within a few years).